

Making an Epoxy Resin Table at Home (My Honest Experience)
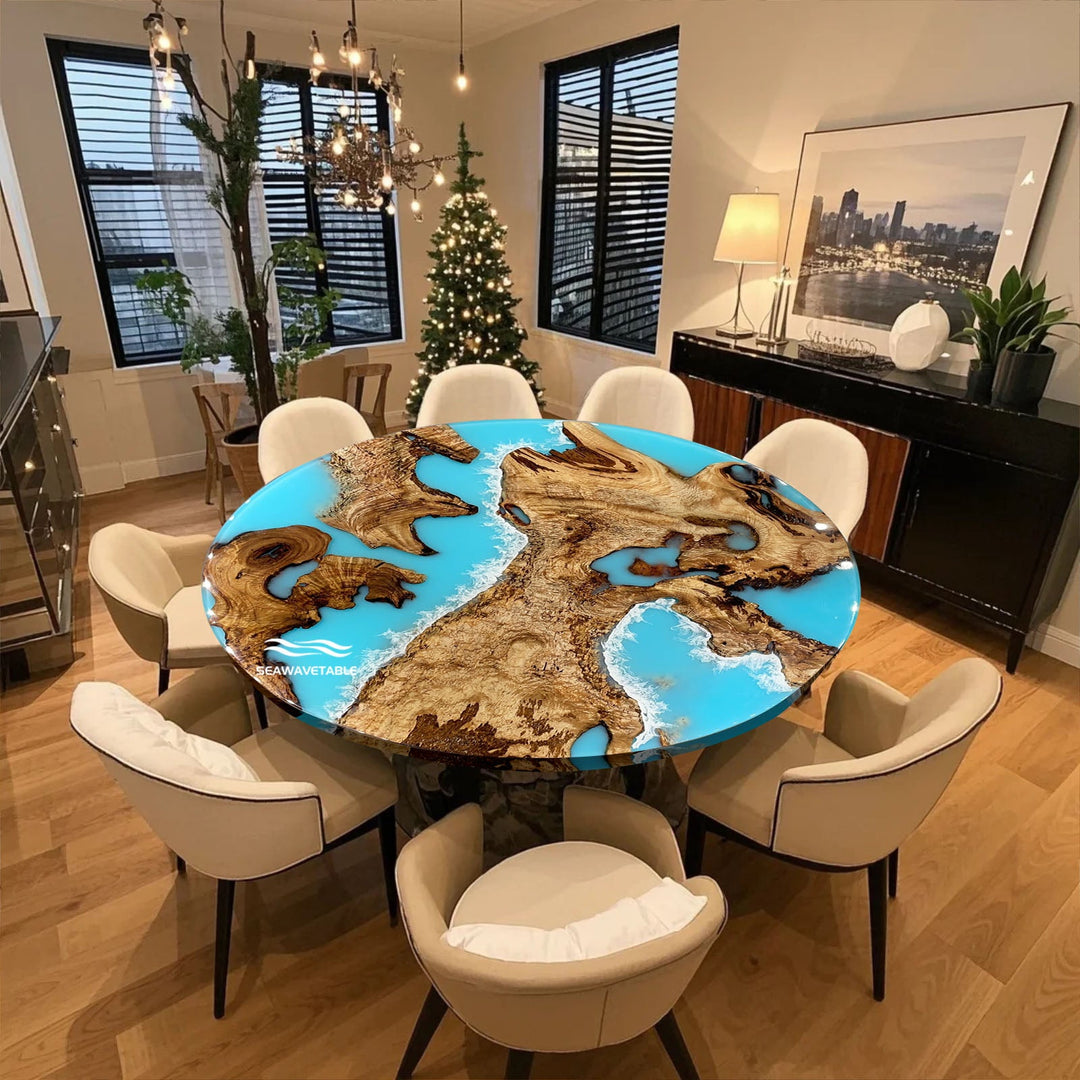
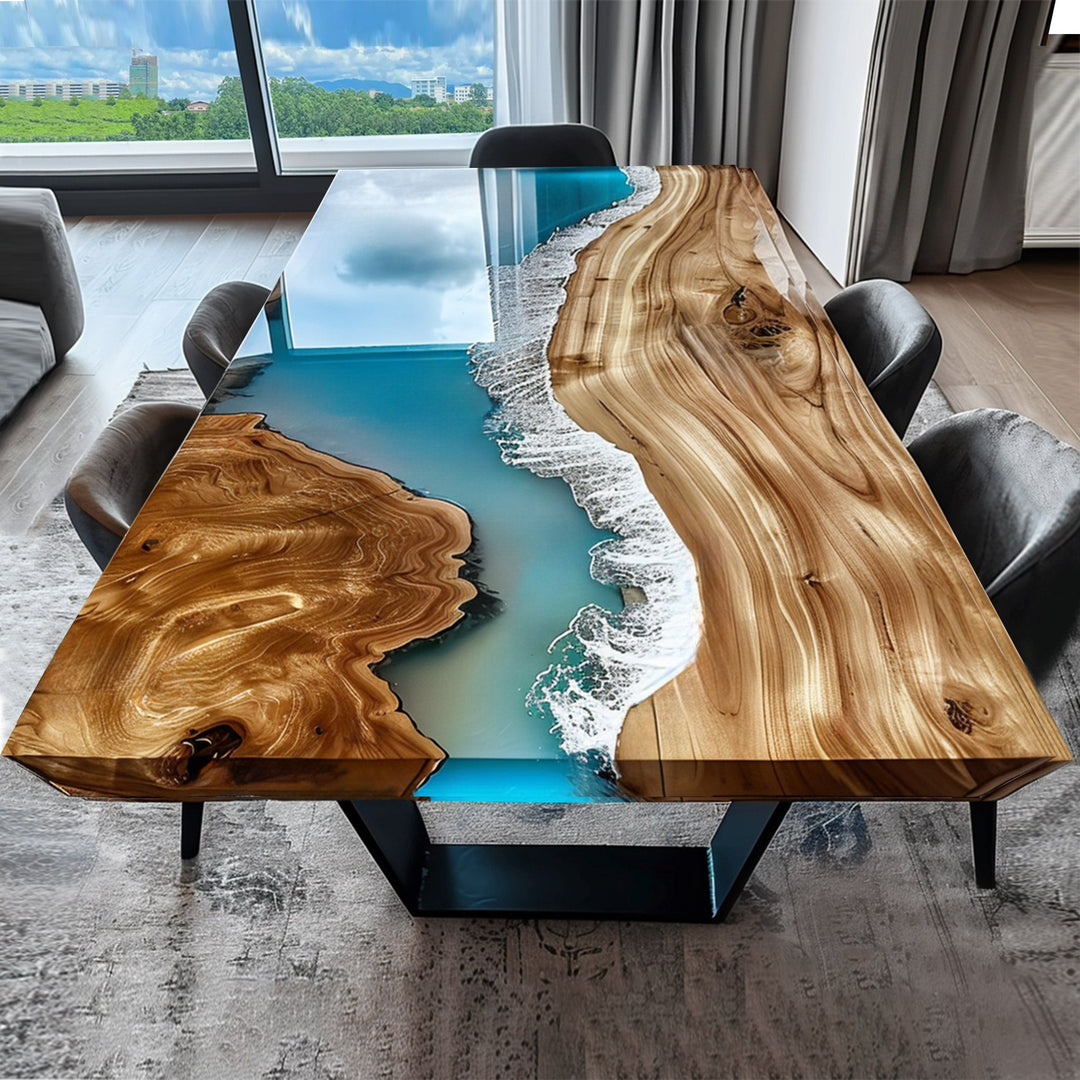
A couple of years ago I kept seeing epoxy river tables everywhere online. Two slabs of wood with a glossy river running through the middle—it looked more like art than furniture.
At first I assumed these tables were only made by professional workshops. But after watching several build videos and reading a few guides, I realized a lot of people are actually making them at home.
If you're curious about trying it yourself, this guide walks through what the process is really like.
If you're completely new to epoxy, it may help to first understand what it actually is. The material most people use is two-part epoxy resin, which cures when resin and hardener are mixed together. You can read a basic explanation here:
https://en.wikipedia.org/wiki/Epoxy
Why People Try Making Resin Tables
The biggest reason is creativity. Wood already has its own natural patterns, and when you combine that with resin, the results are always a little unpredictable.
Even if two people used the same wood species and the same pigment color, the final table would still look different.
Another reason is cost. Custom resin tables can easily sell for thousands of dollars. When you see how many hours go into building one, it starts to make sense.
Materials You’ll Need
You don't need a massive workshop to get started. Many DIY builders work in a garage or small workspace.
Most projects start with a few basic materials:
-
A wood slab (live edge wood works well)
-
Deep pour epoxy resin
-
Mixing buckets
-
Sandpaper or an orbital sander
-
A mold to contain the resin
-
Optional pigments for color
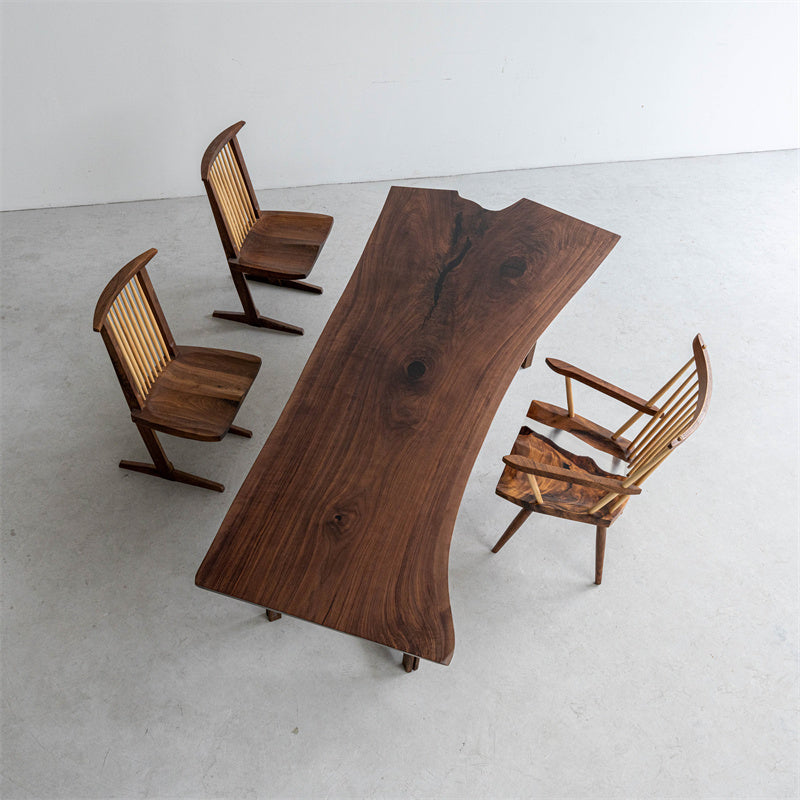
If you're looking for inspiration for wood types, Walnut and Maple are two of the most common choices used in furniture.
Preparing the Wood
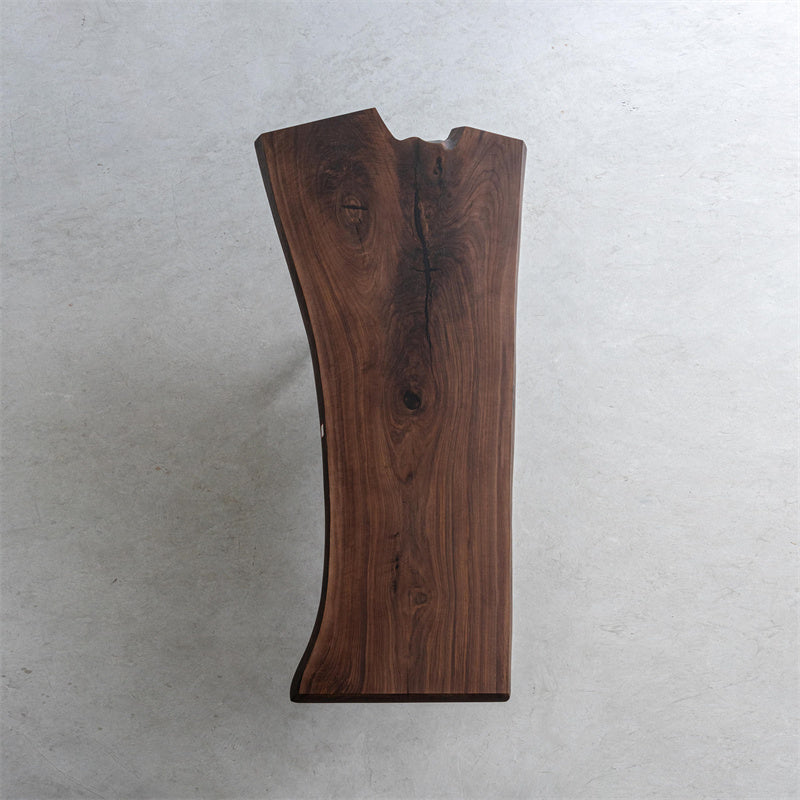
The wood slab really defines the personality of the table.
Live edge slabs are especially popular because the natural edges leave space for the “river” in the center. Before you pour anything, the wood should be dry, clean, and lightly sanded.
A trick many builders use is applying a thin seal coat of epoxy first. This helps prevent air bubbles from escaping from the wood later during the main pour.
Building the Mold
Since resin is liquid at first, it needs a container.
Most DIY molds are built using melamine boards, mainly because epoxy doesn’t stick strongly to them. Builders also line the mold with packing tape or mold release to make removal easier later.
One small mistake beginners often make is not sealing the mold properly. Even a tiny gap can cause resin to slowly leak out during the pour.
Mixing and Pouring the Resin
This is where patience becomes important.
Most epoxy systems use a 2:1 or 1:1 mixing ratio between resin and hardener. Always follow the manufacturer’s instructions exactly.
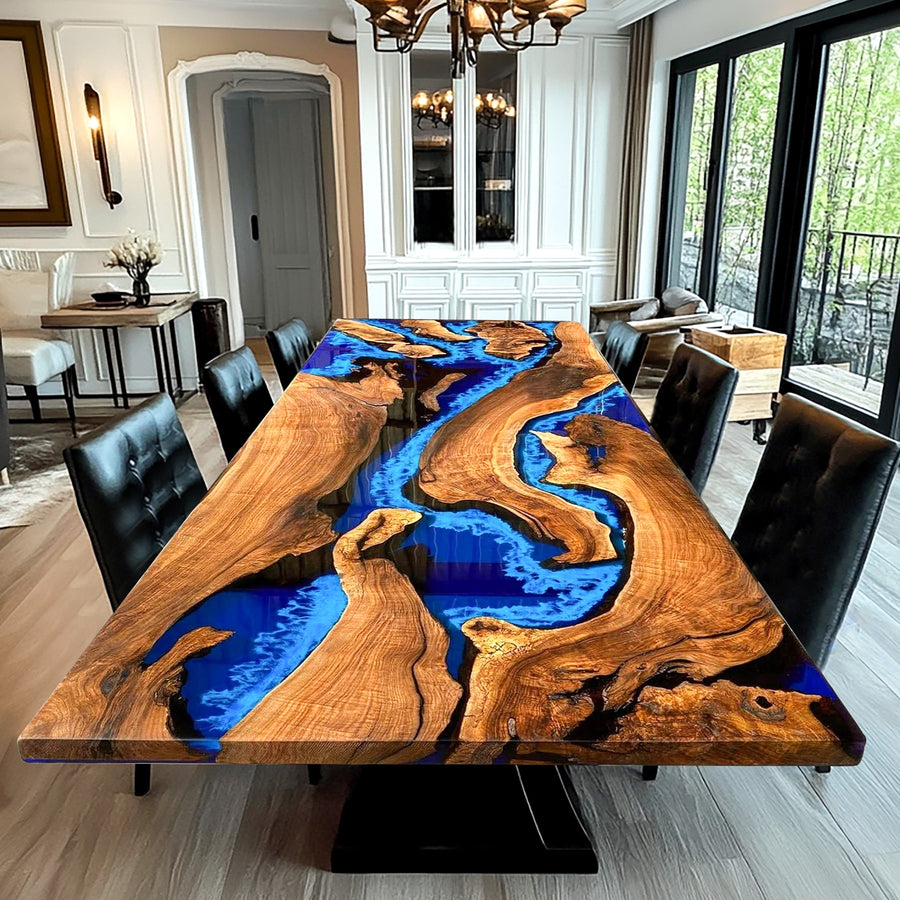
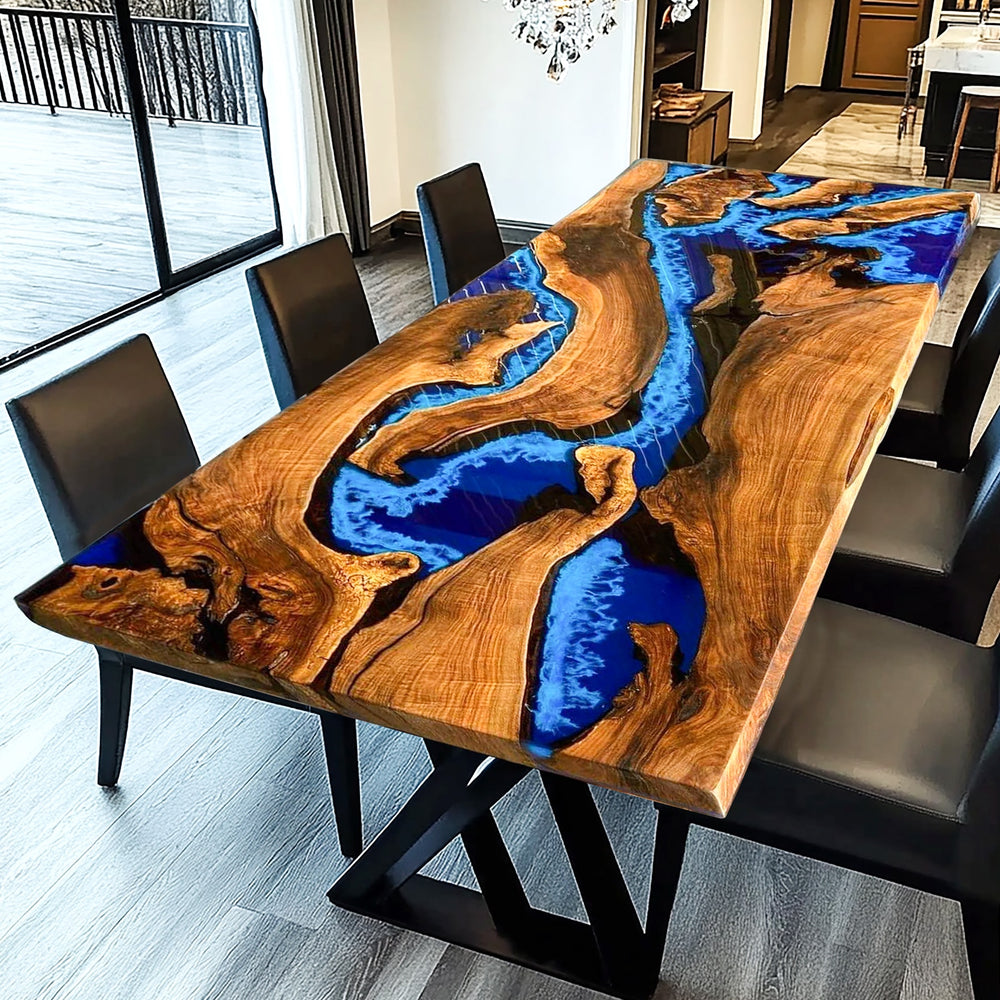
Once mixed, you can add pigments. Blue is the classic color used in “river tables,” but black, clear, and metallic pigments are also common.
If bubbles appear, a heat gun or small torch is usually used to remove them.
Waiting for the Resin to Cure
This part is surprisingly difficult—not because it's complicated, but because it requires patience.
Depending on the epoxy you use, curing can take anywhere from 24 hours to several days.
During this time the table should remain level and undisturbed. Dust is also something to watch out for. Many builders cover the mold with a simple cardboard tent while it cures.
Sanding and Finishing
Once the resin is fully cured, the table comes out of the mold and the real finishing work begins.
This usually involves several rounds of sanding, starting with coarse sandpaper and gradually moving to finer grits.
Some builders polish the resin to achieve a glass-like finish, while others prefer a softer satin look.
Applying a wood finish or oil at the end will enhance the grain and protect the surface.
Tips If You're Trying This for the First Time
If you’ve never worked with epoxy before, a few things can make the process smoother:
-
Measure resin carefully
-
Seal your mold extremely well
-
Work in a ventilated space
-
Start with a smaller table first
A small coffee table is often a better first project than jumping straight into a full dining table.
Final Thoughts
Building an epoxy resin table at home takes time and patience, but it's definitely achievable for DIY enthusiasts.
For many people, the most satisfying part is seeing the transformation—from a rough slab of wood to a finished table that becomes the centerpiece of a room.
And once you finish your first one, there’s a good chance you’ll already be thinking about what kind of design you want to try next.
From the blog
View all